The SISCO melting point instrument is certified with RoHS environmental protection and CE industry standards, offering capillary and thermal-stage measurement methods, making it your ideal assistant for melting point determinations.
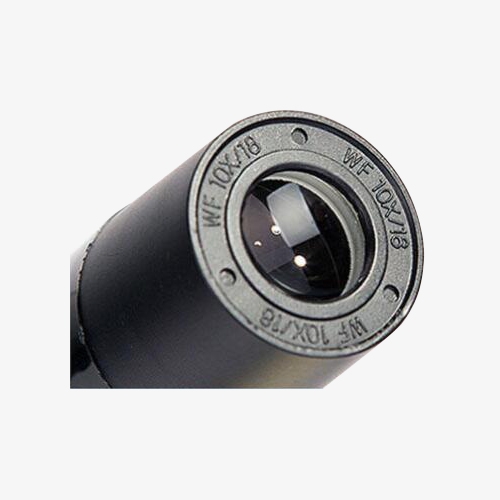
Easy of Observation and Accurate Display
- High-transmittance eyepiece: The micro melting point apparatus uses a high-transmittance eyepiece, providing clearer observations.
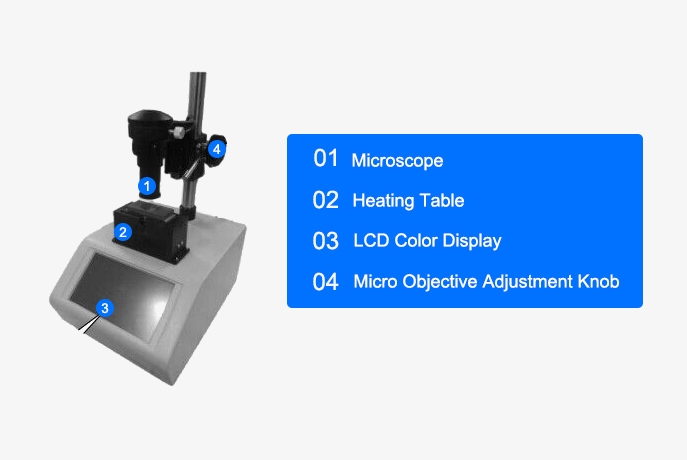
- Digital display: Using a microscopic camera and a color LCD touch screen, the melting process of the sample under the microscope is intuitively displayed on the screen, so that users can observe and control the measurement process more clearly.
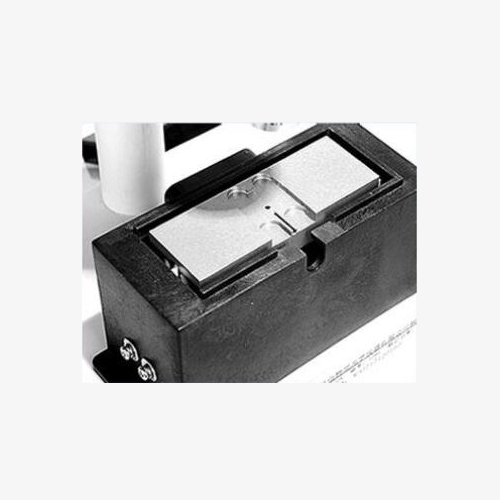
Control and Operation
- PID temperature regulation technology is used to control the change of the measured temperature.
- The measured temperature values (initial melting, final melting) can be stored for users to view at any time.
- Microscope observation method: The instrument employs a microscope observation method, allowing measurements to be taken using either the capillary method or the glass slide and cover method (thermal stage method).
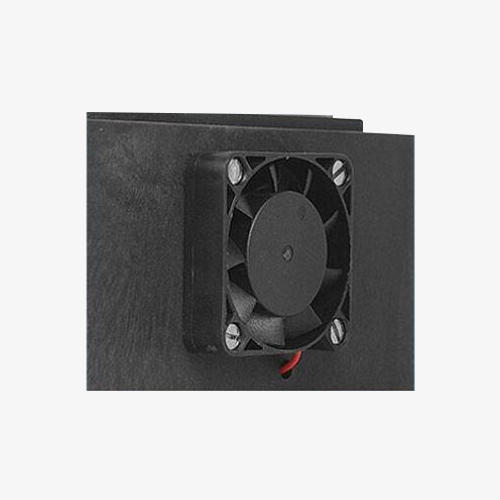
Environment and Heat Dissipation
- Cooling fan: A cooling fan improves the heat dissipation of the worktable.
- Worktable with windshield: The worktable is equipped with a windshield, reducing the impact of the environment on test results.
- Test results can be transferred to a PC via a USB interface for processing, or they can be printed using a micro printer.
Applications
SISCO melting point machine uses capillaries, as specified by pharmacopeia, as sample tubes and liquid heat transfer methods. It is widely applicable in industries such as pharmaceuticals, chemical reagents, fragrances, and dyes, for both production and research purposes. This instrument is ideal for measuring the melting point of organic crystalline substances, ensuring high accuracy and reliability in various scientific and industrial applications.
Chemical Reagents

Fragrances

Dyes
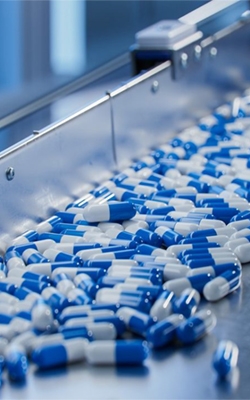
Pharmaceuticals
| Model | SISCO-MPA-X5 | |
| Measuring Range | Room temperature ~ 360℃ | |
| Measurement Method | Visual | |
| Magnification | 20 x zoom | |
| Minimum Indication | 0.1℃ | |
| Heating Rate | 0.2℃/min, 0.5℃/min, 1.0℃/min, 1.5℃/min, 2.0℃/min, 3.0℃/min, 4.0℃/min, 5.0℃/min | |
| Indication Error | Capillary Method | <200℃: ±0.4℃ |
| >200℃: ±0.7℃ | ||
| Hot Stage Method | Room temperature ~ 100℃: ±0.4℃ | |
| 100℃-200℃: ±0.6℃ | ||
| 200℃~300℃: +0.8℃ | ||
| Indication Repeatability | When the heating rate is 1.0℃/min, the standard deviation is 0.3℃ | |
| Linear Heating Rate Error | ±10% | |
| Capillary Size | Outer diameterΦ1.4mm, inner diameter Φ1.0mm, length 90mm | |
| Sample Height | 3~5mm | |
| Slide Size | 76.2mmx25.4mx0.8mm | |
| Cover Glass Size | 18.0mmx18.0mmx0.17mm | |
| Field of View Diameter | Φ2.0mm | |
| Data Storage | 1000 groups | |
| Display Mode | 7-inch LCD touch screen | |
| Calibration Method | One-point to three-point calibration | |
| Communication Interface | USB (connect to host PC), U disk, RS232 micro printer | |
| Power Supply | 220V±22V, 50Hz±1Hz, 150w | |
| Size | 310mmX230mmX505mm | |
| Weight | 5.6kg | |
Details
Q1: What materials can be tested with a laboratory micro melting point apparatus?
A1: A laboratory micro melting point apparatus is commonly used to test the melting points of small quantities of various materials, including organic compounds, pharmaceutical substances, polymers, and chemical reagents. This device is particularly valuable in testing the purity and identification of solid compounds, as the melting point can indicate whether a sample contains impurities or matches a known substance. It is frequently employed in research labs, pharmaceutical development, and quality control processes to analyze powdered samples, crystals, and other small solid specimens with high precision.
Q2: How does impurity affect the melting point?
A2: Impurities in a substance typically lower its melting point and broaden the melting point range. This happens because impurities disrupt the orderly crystal lattice of a pure substance, weakening the bonds between molecules and causing the substance to melt at a lower temperature. As a result, the transition from solid to liquid occurs over a wider temperature range, rather than at a sharp, specific point. In laboratory analysis, this effect is used to assess the purity of a substance: the purer the substance, the sharper and higher its melting point will be.
Q3: What are the typical sources of error in melting point determination?
A3: Typical sources of error in melting point determination include improper calibration of the melting point apparatus, inaccurate sample preparation, and heating the sample too quickly. A poorly calibrated thermometer can result in incorrect temperature readings, while impurities or uneven packing in the sample can cause inaccurate melting point results. Additionally, if the heating rate is too rapid, the sample may not uniformly reach the melting point, leading to a falsely elevated or broad melting point range. Environmental factors, such as air drafts or inconsistent heating, can also contribute to errors in the measurement.
Tips: How does a micro melting point instrument work?
A micro melting point instrument with eyepieces and objectives functions by combining precision heating with microscopic observation to determine the melting point of small samples. The sample is placed in a thin capillary tube and heated gradually on a specialized heating block. The eyepiece and objective lenses allow the user to closely observe the sample as it undergoes the phase change from solid to liquid. As the sample is heated, the user can clearly see the exact point at which melting begins and completes, while the built-in thermometer or digital display provides real-time temperature readings. This enhanced visual capability improves accuracy, especially for small or fine samples, enabling precise identification of the melting point.
Thank you for buying industrial test and measurement equipment on SISCO.com, all products sold by SISCO and the partner cover a 12 months warranty, effective from the date of receiving the products.
What is covered?
SISCO is responsible for providing free spare parts, and free technical support to assist the customer to repair the defective products until the problem is solved.
What is not covered?
- Product purchased from anyone other than a SISCO store or a SISCO authorized reseller.
- Expendable parts.
- Routine cleaning or normal cosmetic and mechanical wear.
- Damage from misuse, abuse or neglect.
- Damage from use of parts other than SISCO approved.
- Damage from use outside the product’s usage or storage parameters.
- Damage from use of parts not sold by SISCO.
- Damage from modification or incorporation into other products.
- Damage from repair or replacement of warranted parts by a service provider other than a SISCO authorized service provider.
- Damage caused by the application environment not meeting the product usage requirements and the failure to perform preventive maintenance.

