The dial gauge vernier caliper has a shockproof belt and strong measurement stability. It is made of high-carbon steel hardened material, with an increased thickness of 3.5mm, durable, and polished in detail, and the metal caliper body is smooth and does not cut your hands.
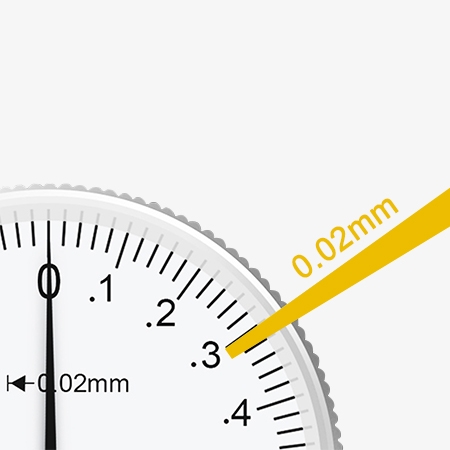
Accurate Measurement
- Each grid on the dial is 0.02mm, 0 position standard, and the pointer returns to zero accurately.
- The dial indicator vernier caliper has a precision rack transmission, which makes the pull smooth and smooth, and the longer it is pulled, the smoother it is.
- The dial-type vernier caliper can measure the outer diameter, inner diameter, step, and depth, and has a wide range of applications.
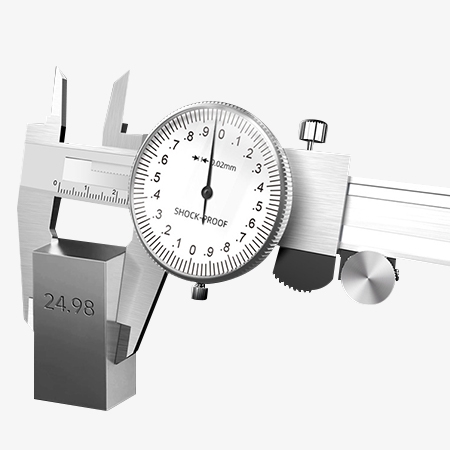
Quality Guarantee
- The dial caliper is made of high-carbon steel and hardened material, and the all-metal material is more durable.
- The heart craftsmanship makes the measuring claws have high flatness, tight fit, and tight bite.
- The ruler is smooth and flawless, with extremely fine polishing, and the edge chamfers are smooth and do not cut your hands, making it safer to use.
Applications
Vernier calipers are a precision measuring tool widely used in many fields. In the field of industrial manufacturing, vernier calipers are an indispensable measuring tool. It can be used to measure the size of parts to ensure that the quality of the product meets the requirements. In the field of automobile maintenance, vernier calipers are used to measure whether the size of automobile parts meets the standard specifications. By regularly measuring the size changes of key parts, the wear and tear of the parts can be determined and repaired or replaced in time. When installing some precision parts, vernier calipers are used to ensure the accuracy of the installation position and size. In the field of scientific research, scientists often need to measure the size of tiny objects.

Mobile Manufacturing
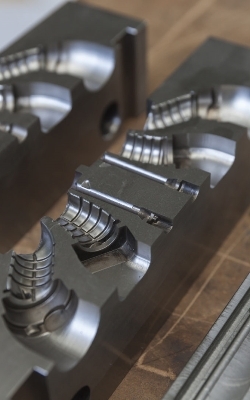
Mold Manufacturing

Scientific Research
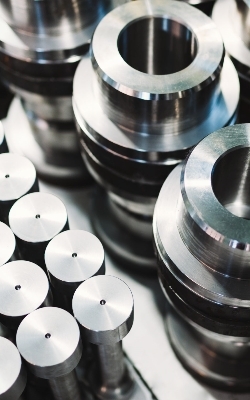
Machinery Manufacturing
| Model | SISCO-VC-D200 |
| Measurement Range | 0~200mm |
| Claw Length | 50mm |
| Resolution | 0.02mm |
| Accuracy | ≤±0.04mm |
| Material | Carbon Steel |
| Weight | 0.35kg |
Q1: What is a vernier caliper?
A1: Vernier caliper is a measuring tool for measuring length, inner and outer diameters, and depth. The vernier caliper is composed of two parts, the main ruler and the sliding vernier attached to the main ruler. The depth rod is connected to the vernier to measure the depth of the groove and cylinder.
Q2: What are vernier calipers used for?
A2: As a commonly used measuring tool, sisco vernier calipers can be specifically applied in the following four aspects:
- Measure the width
- Measuring the outer diameter
- Measuring the inner diameter
- Measure the depth
Q3: How does a vernier caliper work?
A3: Mechanical vernier caliper is a commonly used instrument for measuring length in the industry. It consists of a ruler body and a vernier that can slide on the caliper body. Viewed from the back, the cursor is a whole. There is a spring piece between the vernier and the caliper body, and the spring force of the spring piece is used to make the vernier and the caliper body close. There is a fastening screw on the upper part of the vernier, which can fix the vernier at any position on the body of the caliper.
Tips: Steps to Use a Vernier Caliper
There are two pairs of movable jaws on the main scale and the vernier of the vernier caliper, namely the inner measuring jaw and the outer measuring jaw. The inner measuring jaw is usually used to measure the inner diameter, and the outer measuring jaw is usually used to measure the length and outer diameter. The depth gauge is connected to the vernier scale and can measure the depth of the groove and the cylinder. Therefore, first of all, you must select the appropriate inner and outer measuring jaws according to the shape and size of the object to be measured. Before measuring, fit the two measuring jaws of the vernier caliper tightly together and observe whether the zero scale line of the vernier and the main scale is aligned. If not, adjust the zero position. When measuring an object, place the measuring jaws gently on the object to be measured, and avoid being too tight or too loose to avoid affecting the measurement results. A depth gauge can be used to measure deeper holes or grooves. After the measurement is completed, quickly read the scale values on the vernier and main scale to avoid changes in the caliper due to temperature changes or external forces.
Thank you for buying industrial test and measurement equipment on SISCO.com, all products sold by SISCO and the partner cover a 12 months warranty, effective from the date of receiving the products.
What is covered?
SISCO is responsible for providing free spare parts, and free technical support to assist the customer to repair the defective products until the problem is solved.
What is not covered?
- Product purchased from anyone other than a SISCO store or a SISCO authorized reseller.
- Expendable parts.
- Routine cleaning or normal cosmetic and mechanical wear.
- Damage from misuse, abuse or neglect.
- Damage from use of parts other than SISCO approved.
- Damage from use outside the product’s usage or storage parameters.
- Damage from use of parts not sold by SISCO.
- Damage from modification or incorporation into other products.
- Damage from repair or replacement of warranted parts by a service provider other than a SISCO authorized service provider.
- Damage caused by the application environment not meeting the product usage requirements and the failure to perform preventive maintenance.

