SISCO digital LCD surface roughness gauge is compatible with ISO, DIN, ANSI, and JIS standards and is widely used in production settings to measure the surface roughness of various machined parts.
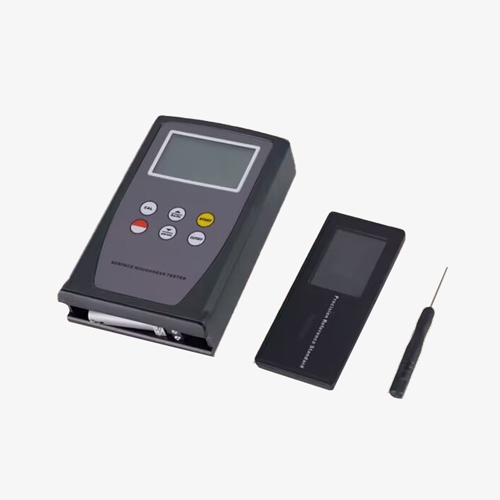
High-Precision Roughness Tester with Advanced Technology
- Equipped with high-precision inductance sensor.
- The surface roughness tester adopts computer technology and complies with ISO/DIN/ANSI/JIS standards.
- Soft backlight: Blue backlight, 4-digit display, 10 mm LCD that users can adjust the backlight according to the use environment, making measurement easier.
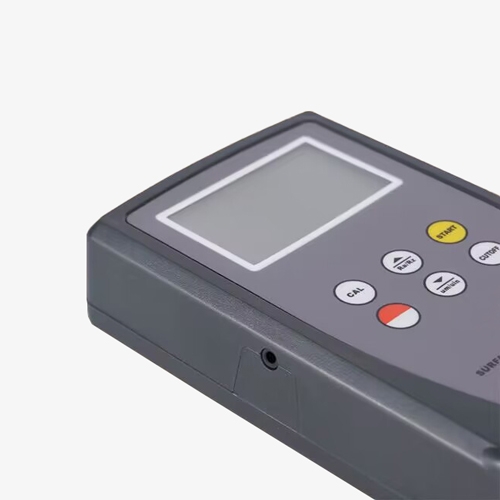
Multifunctional Compact Surface Roughness Tester
- Adopt high-quality touch switch, durable to use.
- Mechatronics design, small size, light weight.
- Provide Bluetooth data output option.
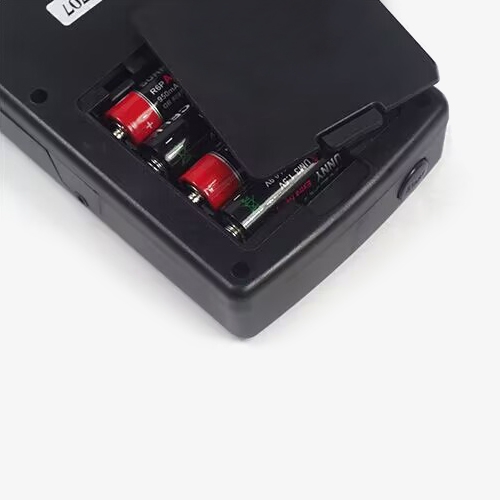
Ultra-Long Battery Life Surface Roughness Measurement Instrument
- 4*AA batteries, ultra-long standby 100 hours to extend your work.
- Automatic shutdown function: Automatically shut down after 5 minutes of no operation, helping to save power and reduce unnecessary waste.
Applications
The LCD digital roughness gauge can be widely used in production sites, and can measure the surface roughness of various machined parts. It calculates the corresponding parameters according to the selected measuring conditions and clearly displays all the measuring parameters on the LCD.

Transportation Terminal

Oil Extraction
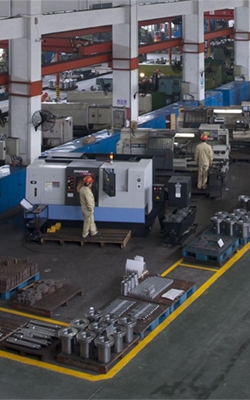
Production Workshop
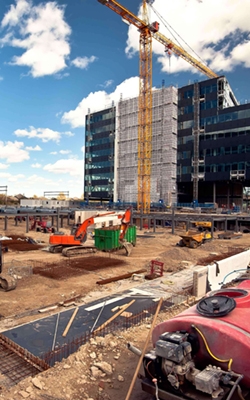
Construction Site
| Model | SISCO-SRT-6100 | |
| Implementation Standards | GB/T6062, IS04287, DIN4768, JIS B, ANSI46.1 | |
| Display | Blue backlight, 4-digit display, 10 mm LCD | |
| Measurement Parameters | Ra, Rz | |
| Measuring Range | Ra: 0.05µm~10.00µm | |
| Rz: 0.1µm~50.0µm | ||
| Accuracy | ≤±15% | |
| Indication Variability | ≤10% | |
| Resolution | 0.001µm / 0.01µm / 0.1µm | |
| Sensor | Radius | 10µm |
| Material | Diamond | |
| Force Measurement | 16mN (1.6gf) | |
| Angle | 90º | |
| Longitudinal Radius | 48mm | |
| Drive Stroke | 12.5mm/0.5inch | |
| Sampling Length | 0.25mm, 0.8mm, 2.5mm | |
| Drive Speed | Measuring | When sampling length = 0.25mm, Vt = 0.135mm/s |
| When sampling length = 0.8mm, Vt = 0.5mm/s | ||
| When the sampling length = 2.5mm, Vt = 1mm/s | ||
| Returning | Vt=1mm/s | |
| Evaluation Length | 1L~2L (optional) | |
| Memory Function | × | |
| Operating Humidity | <80%RH | |
| Operating Temperature | 0°C~50°C | |
| Power Supply | 4*AA batteries (not include) | |
| Size | 128mmx80mmx30mm | |
| Weight | 280g | |
Packing List
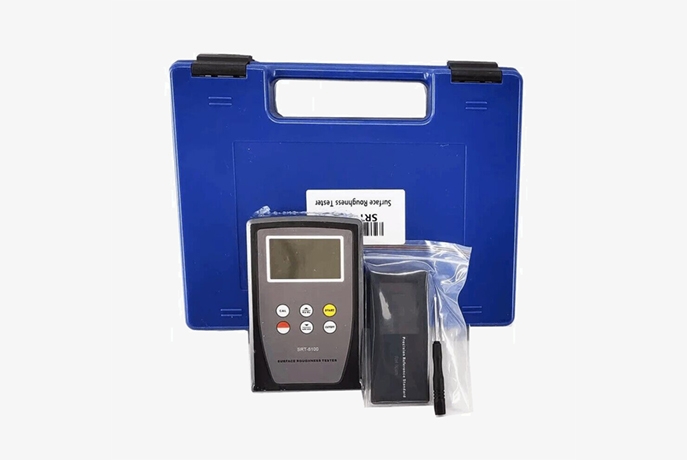
- 1 x Surface roughness tester
- 1 x Box
- 1 x Standard Sample Plate SSP-180
- 1 x Standard Sensor SSP-100
- 1 x Screwdriver
- 4 x User manual
Q1: What is a 3.2 RA finish?
A1: 3.2 RA finish refers to a surface roughness measurement where the roughness average (RA) is 3.2 micrometers (µm) or 125 microinches. RA is a common parameter used to quantify the smoothness or texture of a surface, indicating the average deviation of the surface profile from the mean line over a specified length.
3.2 RA finish is often considered a moderately smooth finish and is typically used in various industries where a certain level of surface smoothness is required for functional or aesthetic reasons. This level of roughness can be achieved through different machining processes such as grinding, polishing, or other finishing techniques.
Q2: What is the difference between surface finish and surface roughness?
A2: Surface finish and surface roughness are related but distinct concepts. Surface roughness specifically refers to the fine irregularities on the material's surface, which are a result of the manufacturing process. These irregularities are usually quantified in micrometers (µm) or microinches (µin) using parameters such as Ra (roughness average) and Rz (average maximum height). Surface finish, on the other hand, is a broader term that includes surface roughness, waviness, texture, and flaws. Waviness refers to larger-scale surface deviations, texture indicates the directionality of surface patterns, and flaws include defects such as cracks and scratches. In summary, surface roughness is a part of surface finish, and surface finish provides a comprehensive assessment of surface quality.
Q3: What is SA and SQ in surface roughness?
A3: In surface roughness measurement, Sa and Sq are parameters used to quantify three-dimensional surface texture. Sa (Arithmetic Mean Height) represents the arithmetic mean of the absolute values of surface height deviations measured from the mean plane, analogous to the 2D parameter Ra .Sq (Root Mean Square Height), on the other hand, is the root mean square (RMS) value of surface height deviations from the mean plane, akin to the 2D parameters Rq or Rms.
Sa provides a measure of the average height variation on the surface, while Sq emphasizes larger deviations due to squaring and averaging the deviations. These parameters are crucial for comprehensively assessing surface texture and roughness in three dimensions, widely applied in fields such as materials science, manufacturing, and quality control.
Tips: How does an surface roughness tester work?
When measuring the surface roughness of a workpiece, the sensor is placed on the surface to be measured. The internal drive mechanism of the instrument drives the sensor to move uniformly along the surface being measured. The sensor detects the surface roughness using its built-in sharp stylus. As the surface roughness of the measured workpiece causes displacement of the stylus, this displacement changes the inductance of the sensor's coil.
The change in inductance generates an analog signal at the output of the phase-sensitive rectifier, which is proportional to the surface roughness of the measured surface. After amplification and level conversion, this signal enters the data acquisition system. A DSP chip processes the collected data through digital filtering and parameter calculation. The measurement results are displayed on an LCD screen and can be communicated with a PC for data analysis and printing.
Thank you for buying industrial test and measurement equipment on SISCO.com, all products sold by SISCO and the partner cover a 12 months warranty, effective from the date of receiving the products.
What is covered?
SISCO is responsible for providing free spare parts, and free technical support to assist the customer to repair the defective products until the problem is solved.
What is not covered?
- Product purchased from anyone other than a SISCO store or a SISCO authorized reseller.
- Expendable parts.
- Routine cleaning or normal cosmetic and mechanical wear.
- Damage from misuse, abuse or neglect.
- Damage from use of parts other than SISCO approved.
- Damage from use outside the product’s usage or storage parameters.
- Damage from use of parts not sold by SISCO.
- Damage from modification or incorporation into other products.
- Damage from repair or replacement of warranted parts by a service provider other than a SISCO authorized service provider.
- Damage caused by the application environment not meeting the product usage requirements and the failure to perform preventive maintenance.

