In the realm of electronics and experimental setups, precision and synchronization are paramount. Whether you're working on waveform generation for testing circuits or conducting advanced research, the ability to synchronize two function generators can be a game-changer. This guide delves into the intricacies of synchronizing function generators, providing step-by-step instructions for achieving accurate and consistent results.
Understanding Synchronization
Function generators are versatile tools that produce waveforms such as sine, square, triangle, and more. Synchronization, in this context, refers to the process of aligning the output waveforms of two or more function generators in terms of frequency, phase, and amplitude. This is especially crucial when dealing with applications like interference, modulation, and multi-channel signal generation.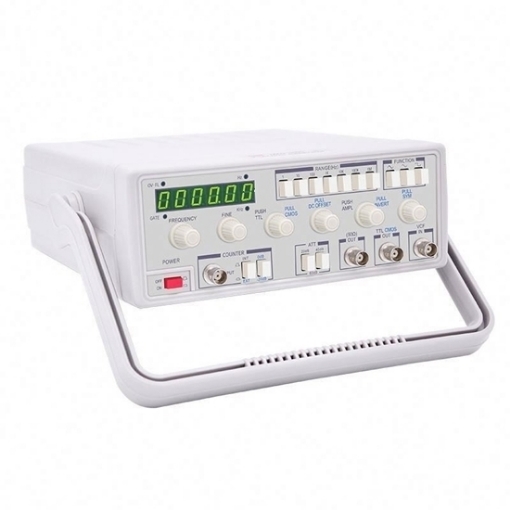
Step-by-Step Synchronization Process
- Choosing Compatible Function Generators: When selecting function generators, ensure that they offer the synchronization features you need. Look for models with external synchronization inputs/outputs, which are usually BNC connectors. Check the user manual or specifications to confirm their synchronization capabilities.
- Prepare Your Setup: Before you begin, make sure both function generators are placed on a stable surface to prevent any accidental movement during the synchronization process. Connect the function generators to a reliable power source and double-check the power ratings to avoid overloading circuits.
- Setting the Master Generator: Decide which function generator will act as the master unit. The master generator's settings will serve as the reference for other generators. Configure its waveform type, frequency, amplitude, and any modulation or phase adjustments based on your experiment's requirements.
- External Sync Connections: Locate the synchronization connectors on both generators. These connectors are typically labeled as "EXT SYNC" or "SYNC IN/OUT." Use high-quality BNC cables to establish the physical connection between the master generator's sync output and the sync input of the slave generator(s).
- Selecting Sync Mode: Access the synchronization settings on both generators through their respective menus. Choose the synchronization mode that suits your setup. The master generator should be set to "Master" mode, indicating that it will dictate synchronization parameters. The slave generator(s) should be set to "Slave" mode, allowing them to follow the master's settings.
- Frequency Synchronization: Set the desired frequency on the master generator. When the synchronization is established, the slave generator(s) will automatically adjust their frequencies to match the master's frequency. This ensures that the generated signals are in perfect harmony and suitable for applications like interference and modulation.
- Phase Alignment: Achieving precise phase alignment is critical for applications such as creating interference patterns or generating complex modulated signals. Utilize the phase adjustment controls on both the master and slave generators to fine-tune the phase relationship between the output signals.
- Amplitude Matching: Uniform amplitudes are essential for consistent signal strength across synchronized channels. Use the amplitude adjustment controls on each generator to align the amplitudes as closely as possible. This prevents signal discrepancies that could affect the reliability of your results.
- Testing and Refinement: Generate test signals with known characteristics and observe the outputs of both generators using an oscilloscope or other measuring equipment. Compare the waveforms and adjust synchronization settings as necessary. This iterative process ensures that your synchronization is accurate and meets your experiment's objectives.
- Calibration and Validation: To validate the accuracy of synchronization, use reference signals or calibration standards. Verify that the synchronized signals match the expected outcomes within acceptable tolerances. This step confirms that your synchronization setup is reliable and ready for your experiments.
Synchronizing two function generators opens up a realm of possibilities for precise signal manipulation and experimentation. From RF circuit testing to complex modulation schemes, this guide has provided a comprehensive walkthrough to help you synchronize your function generators effectively. If there is anything you don't understand, contact sisco, sisco wholeheartedly at your service. Each setup may have unique nuances, so patience and iteration are key as you fine-tune your synchronization for optimal results in your specific applications.